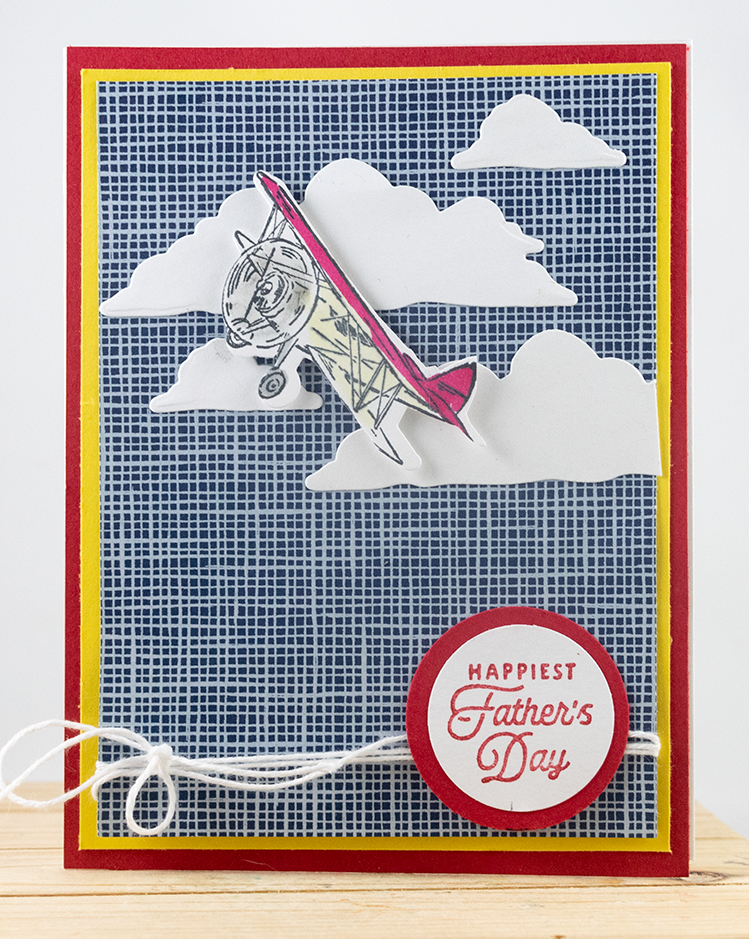
I hope you enjoy this project. Happy Father’s Day to all the dads.

Stamp:
- Adventurous Sky
Ink:
- Real Red
- Memento Black
Blends:
- Daffodil Delight
- Real Red
- Gray Grannet
Paper:
- Basic White 5 1/2″ x 8 1/2″ 2″ x 2″ 4″ x 4″ 1″ x 1″
- Real Red 5 1/2″ x 4 1/4″ 1 1/4″ x 1 1/4″
- Daffodil Delight 5 1/4″ x 4″
Designer Series Paper:
- Taking to the Sky 5″ x 3 3/4″
Embellishments:
- Bakers Twine
Tools:
- Circle Punches 1 1/4″, 1 1/2″
- Adventurous Sky.
Basic Tools:
- Trimmer -152392
- Cut And Embossing Machine – 149653
- Multipurpose Liquid Glue – 110755
Instructions:
- Fold Basic White CS to 4 1/4″.
- Adhere Real Red to the front of the card.
- Adhere Daffodil Delight to the center of the card.
- Wrap twine around the DSP on the bottom.
- Adhere to the center of the card. (Tie twine)
- Punch out the Real Red with the circle punch. (do the same with Basic White but smaller)
- Stamp the words Happiest Father’s Day in real red on the Basic White CS that you just punched.
- Adhere the Basic White to the center of the Real Red.
- Adhere to the bottom right side of the card.
- Run Basic White CS through the Cut And Emboss Machine using the dies from the bundle.
- Stamp the Plane in Memento Black.
- Run what you just stamped through the Cut And Emboss Machine using the Dies.
- Color the wings in Real Red.
- Color the body in Daffodil Delight and the propellers and wheels in Gray Granitet.
- Arrange and ahere the clouds the way you want them.
- Adhere the Dimensional to the back of the Plane.
- Adhere the Plane to the center of the clouds. (see photo)
CS = Card Stock
DSP = Designer Series Paper


