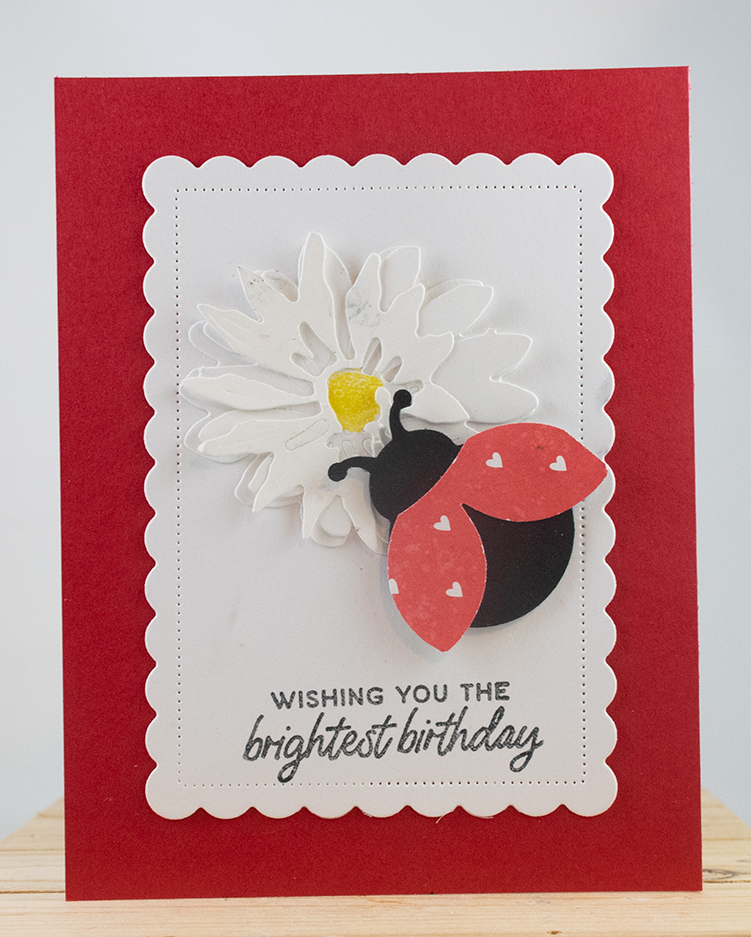
Time is flying on the retired products. I have one stamp set retiring. It is Hello Ladybug. Thankful the Cheerful Daisies and Perennial Dies are not retiring. I will miss the Ladybug because it makes such a cute quick card.
Stamp:
- Cheerful Daisy
- Hello Ladybug
Ink:
- Memento Black
Blends:
- Daffodil Delight
Paper:
- Basic White 5 1/2″ x 8 1/2″ 5″ x 3 3/4″ 3″ x 3″
- Real Red 5 1/2″ x 4 1/4″
- Basic Black 2″ x 2″
Designer Series Paper:
- Country Bouquet (retired) 2″ x 2″
Embellishments:
- Dimensionsals
Tools:
- Perennial Postage Dies
- Cheerful Daisy Dies
- Ladybug punch
Basic Tools:
- Trimmer -152392
- Cut And Embossing Machine – 149653
- Multipurpose Liquid Glue – 110755
Instructions:
- Fold Basic white to 4 1/4″.
- Adhere the Real Red CS to the front of the card.
- Run Basic White CS through the Cut And Emboss Machine using the Perennial Postage Dies.
- Stamp the words “Wishing you the brightest birthday” in Memento Black Ink on the bottom of the card Basic White CS.
- Adhere to the center of the card.
- Run Basic White through the Cut And Emboss Machine using the Daisies Dies. (x2)
- Color the center of the flower in Daffodil Delight. (See photo)
- Adhere the top part of the flower to the bottom part of the flower. (see photo)
- Adhere to the top of the card. (see photo)
- Punch out the Ladybug in Basic Black CS.
- Punch out the wings to the Ladybug using the punch.
- Adhere the wings to the Ladybug.
- Adhere Dimensional to the bottom of the Ladybug.
- Adhere to the center-right of the card. (see photo)
CS = Card Stock
DSP = Designer Series Paper


