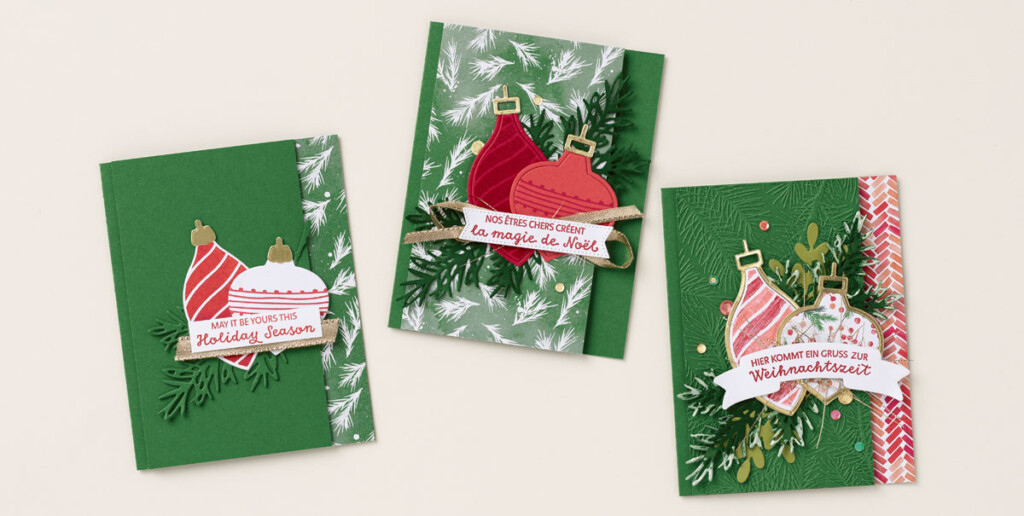
Good Morning everyone. I am going to change up the post this week. I had a three-day craft show which was great, but no time to prepare a post. So I thought Stampin’ Up! always has great ideas for all levels of stampers. So we are going to explore three ideas for one stamp set.
However, first I want to explain this week’s schedule. There will be a newsletter on Tuesday, but no posts or emails for the rest of the week. The post will resume on Monday.
So let us look at today’s post.
| Spruced Up Bundle Step-by-Step |
| This Holiday Season Card (4-1/4″ x 5-1/2″) (10.8 x 14 cm)Are you on a quest to make a flurry of festive, handmade cards and tags this Christmas season? If so, the Spruced Up Bundle could be your best friend with its boldly-imagined tree and ornament stamps and unique outline dies—ready to help you make merry with Christmas paper crafting before the season rush! We show you how to go from casual to fancy with our samples—but what can you do with this card to make it yours?CASUALTo create the casual card, stamp and die cut the ornaments. Cut the Gold 3/8″ (1 cm) Shimmer Ribbon and layer it behind the sentiment. Add the 3-1/4″ x 5-1/2″ (8.3 x 14 cm) Garden Green Cardstock layer with Stampin’ Dimensionals, and adhere a 1″ (2.5 cm) strip of Painted Christmas Designer Series Paper on the right side of the card. Die cut the pine bough from Garden Green Cardstock using the Decorated Pine Dies and adhere it to the card.AVIDFor this version, die cut the Decorated Pine piece in Garden Green Cardstock and use the same color ink with a Sponge Dauber to achieve a darker color. Stamp the sentiment and die cut with the Stylish Shape Dies banner. Cut the ribbon in half, make a bow, and layer it behind the sentiment label with Stampin’ SEAL.ARTFULLY AVIDEmboss the 3-1/4″ x 5-1/2″ (8.3 x 14 cm) Garden Green Cardstock layer with the Wintry 3D Embossing Folder. Add Pearlized Enamel Effects Basics in white to the ends of the pine bough die cut (after adding Garden Green ink with a Sponge Dauber). Take the Gold 3/8″ (1 cm) Shimmer Ribbon apart to use the gold threads on it and add them with Stampin’ SEAL behind the sentiment label. |
Remember you always order any of your Stampin’ Up! supplies here.Order Here


