Adventure Continued

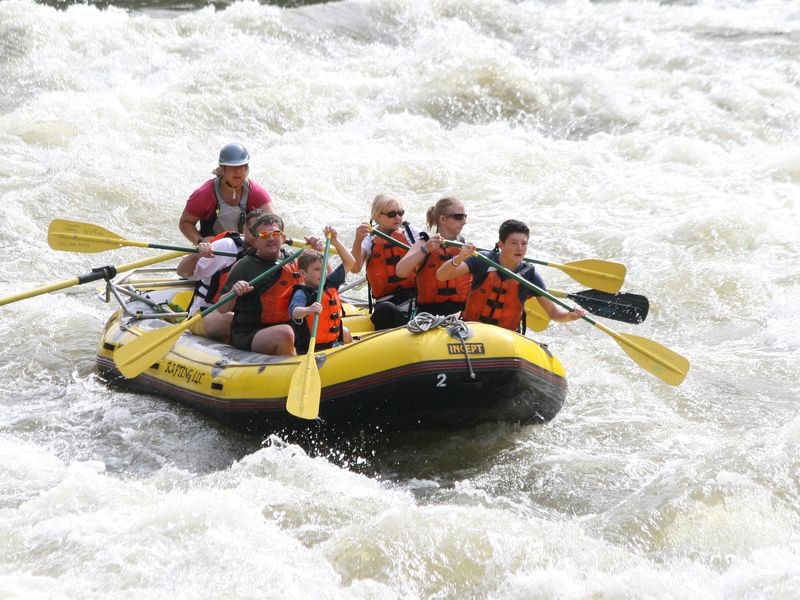
I hope you enjoyed my last blog and details of the cards.  I am planning to make this a regular part when I post my cards.  However, I want to continue telling you about my adventure after Salt Lake City.  I wanted a little R & R so I drove to the convention. No, I don't find driving that relaxing.  It is the destination.  I drove to Glenwood Springs, Colorado in order to indulge in one of my passions.  Check out the picture below.

Whitewater

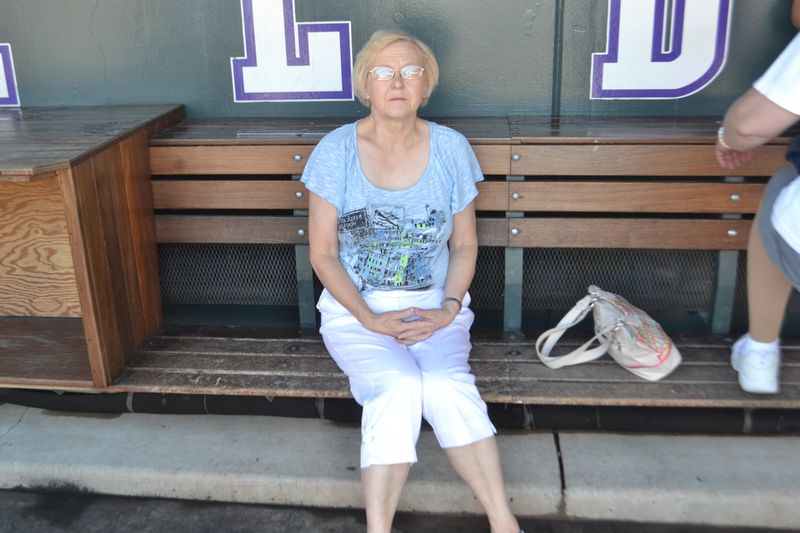
Yes, that is me and I am paddling.  What a blast!  This was on the Colorado River.  Next stop was Denver.  I enjoyed a Rockies tour of the stadium and a game.  Here is a picture of me in the Rockies Dugout.

July 2014 595

I hate having my picture taken. So I will avoid it has much as possible with my blog.  Okay enough of this.  Next time we will get back to Stampin' Up projects!

Please, Leave A Comment

Pamela Sadler Signature

Let’s Create

Convention Card Pictures 006


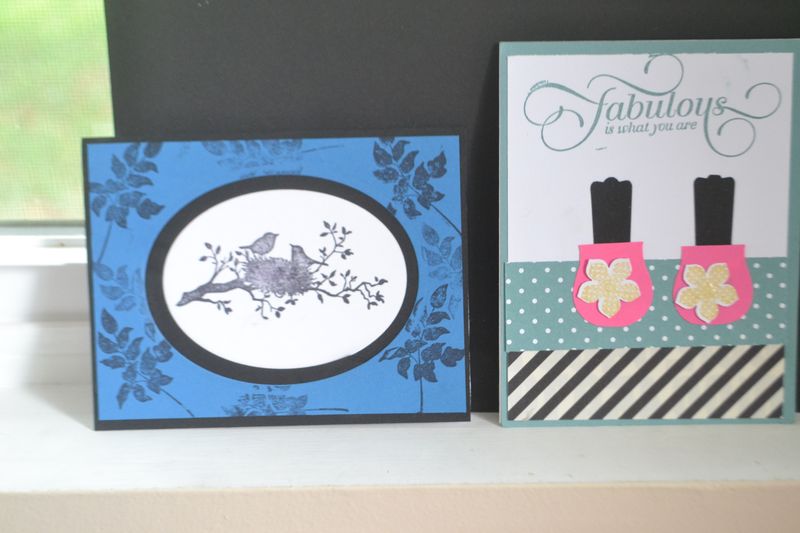
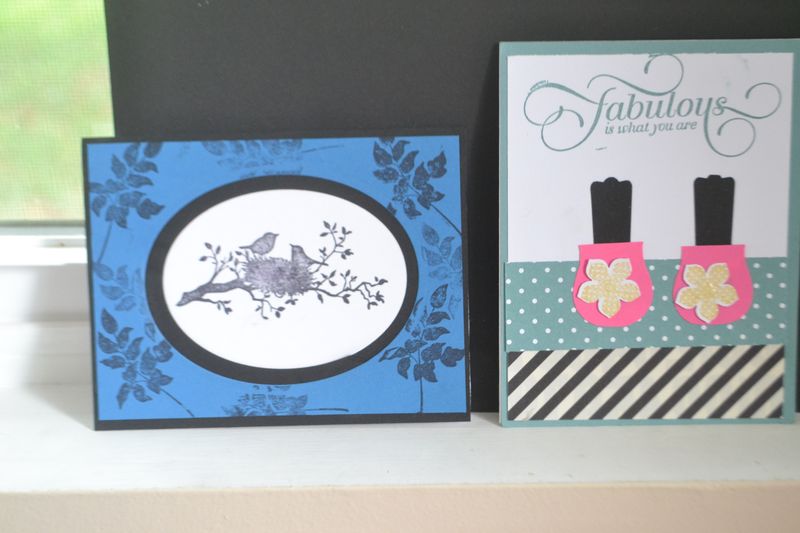
I promise you that would explain how to make swap cards.  So I will start with the blue card. I used the Stampin' Up! "World of Dreams."  Cut a black cardstock 5 1/2" x 4 1/4",  The blue piece of paper is Pacific Point paper cut at 5 1/4" x 4".  Use the oval die to cut the center. Next stamp in black ink the flowers on the blue paper around the oval cut. I stamped the corners normally, but the middle of each sideI did a stamp off. A stamp off is where you ink your stamp and stamp on a piece paper. Then you stamp on your card. You will notice it stamped lighter.  Glue onto the black paper.  At this point you can cut the center with the next size smaller with oval die.  This will be mounted onto white cardstock which is your card. All cards are 5 1/2" x 4 1/4".  Cut at 5 1/2" and score at 4 1/4" gives you the card.  I always call it the base.  Stamp the bird in the nest with black ink on the white paper which is in the center of the card.

The nail polish card is very simple.  Cut at 5 1/2" and score at 4 1/4" gives you the card. This card uses the owl punch and the modern label punch.  I use the white cardstock as my base and covered it with Lost Lagoon paper.  The dot paper is from Stampin' Up! Bright Designer paper pak and coordinates with Lost Lagoon. It is cut at 1 1/2 x 4".  The black stripe is from the SU Black is Black paper at 1 1/2" x 4".  Place these strips on white cardstock cut at 5 1/4" x 4". For nail polish cut the feet off and little from the top of the owl.  The top is the Modern Label punch with black paper and cut in half. I used Petite Petals stamp and stamped with Hello Honey.  Punch out with Petite Petal punch. Add a pearl in the center of the flower.


Please, Leave A Comment

Pamela Sadler Signature

Share Time

Convention Card Pictures 006 Convention Card Pictures 010I

Convention Swap II 002

I want to share the cards I took for the Stampin’ Up! Convention 2014 Swap.  These cards were very popular.  In an upcoming blog, I will explain how to make these cards.  They are very easy to make. I will give you a hint on the nail polish card: Owl Punch.  So if you don’t have this verstile punch you need to contact me and order it. You will see many uses for this punch coming soon.


Please, Leave A Comment

Pamela Sadler Signature