Technique Time

I want to apologize for not getting a post out on Monday. I was gone over the weekend to craft shows and did not have time to make a card.  You may be wondering what happened to Friday’s project. My assistant’s daughter had surgery on Wednesday.  She is doing fine, but the four years old needed a little more attention than planned.

So today will be the last one for the week as you know it Thanksgiving is coming up and I am taking the rest of the week off. I am hoping to get some new cards done and ready for next week. You will have a project for Friday Dec. 6th.

Today’s technique combines two techniques for one amazing result and is perfect if you want a little more challenge.

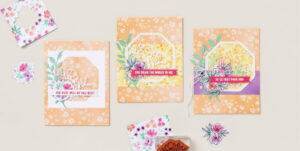
Did you know you can emboss, die cut, and add color to an image all at once? With our hybrid embossing folders, you can! That’s the first technique we used to create the flowers on our Congratulations card. We then added a second color using the Stampin’ Brayer for a beautiful two-tone look. Here’s how you can achieve these stunning results:

  1. Ink the Happy Hibiscus Hybrid Embossing Folder with Petunia Pop ink.
  2. Add the flower dies to the embossing folder so it will cut and emboss at the same time. Add your paper and run it through the Stampin’ Cut & Emboss Machine.
  3. Add a second color to the flowers by running the Stampin’ Brayer inked with Fresh Freesia over the embossed images.

So have some fun with this technique.

Please, Leave A Comment

Pamela Sadler Signature

What is Old Is New Again

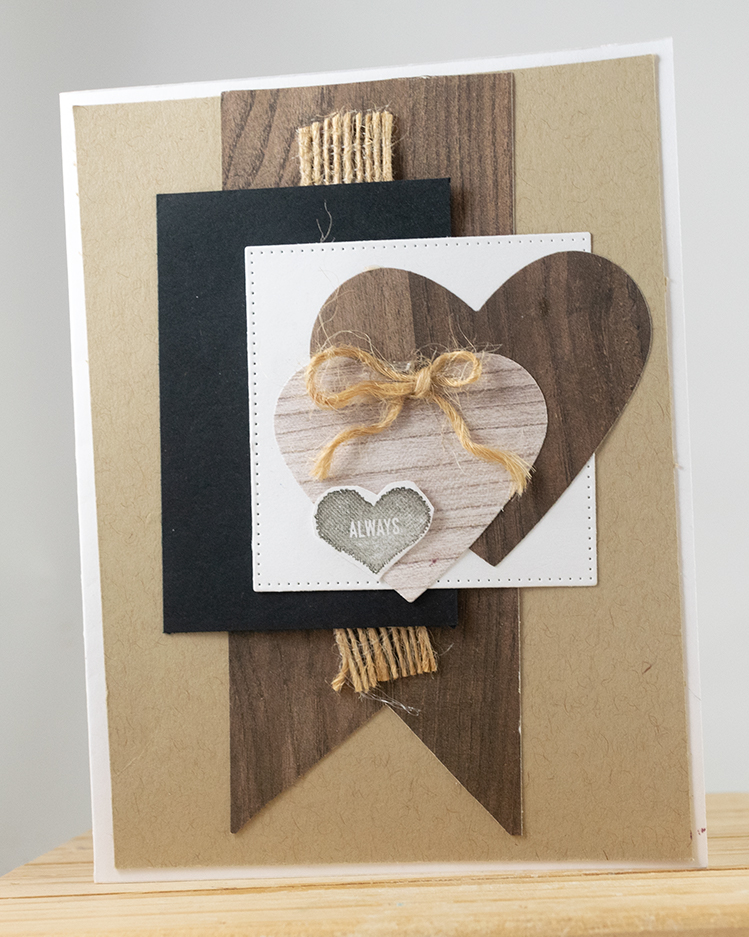
Stampin’ Up! released a new sled stamp set called Alpine Sports. A few years ago, there was one with a sled, but it had a different design.  So I am using the old design but with some new products.  The snow paper is retired, but Stampin’ Up! has one with the Nests of Winter Designer Series Paper.

Remember this stamp set is an Online Exclusive.


Spotlight on a Stamp

Color Combination:


  • Early Espresso
  • Real Red
  • Beige

Stamp Set:

  • Sophisticated Sled Bundle Order Here
  • Decorative Trees (bow)

Ink:  

  • Early Espresso

Paper: Remember I always use Basic White as my base.

  • Basic White 5 1/2″ x 8 1/2″,  2 1/4″ x 4 1/2″
  • Early Espresso 4 1/4″ x 5 1/2″, 1 3/4″ x 4″, 2 4 3/4″1/2″ x
  • Beige 4″ x 5 1/4″, 2″ x 2″
  • Real Red 1″ x 1″

Designer Series Paper:

  • Nests of Winter 1 1/2″ x 4″
  • Country Woods (sled) 3″ x 2″

Tools:

Accessories:

  • Trimmer
  • Multipurpose Glue


Quick Links

DBWS    http://www.stampinup.net/esuite/home/pinkrose/events

Store  https://www.stampinup.com?demoid=2139595

Free Catalog https://stampinpinkrose.com/catalog-re

Join my team https://www.stampinup.com/join?demoid=2139595

Questions http://pamela@stampinpinkrose.com

Pinterest https://www.pinterest.com/stampinpinkrose

Youtube https://www.youtube.com/channel/UCiKnvPZ8Le3aWHzHslRWw0g/videos?

Facebook  https://www.facebook.com/stampinpinkrose/

Instagram  https://www.instagram.com/stampin_pink_rose/?hl=en

Etsy https://www.etsy.com/shop/CardsTrulyfromthHear

Need a card: www.cardstrulyfromtheheart.com

Please, Leave A Comment

Pamela Sadler Signature

Weekly Newsletter November 18th

Have you checked out the new Online Exclusives lately? Stampin’ Up has a new critter, and I think it is adorable. So here is a casing with the new critter.


Shaker cards are definitely one of our favorite card types, but when you combine them with the Otterly Adorable Suite Collection—including the Otterly Amazing Stamp Set, Otterly Amazing Dies, Riverside Irregular Pearls (plus Lost Lagoon Soft Cording)—you’ll have a corner on cuteness, and you’ll be crafting for days!

There’s a lovely shaker card in the current annual catalog and we decided to CASE it. The happy result is a charming peek at the rollicking, undersea world of otters! Here’s how to do it:

  • Make the card from Basic Beige Cardstock embossed with the Timber Embossing Folder. Die cut the window using the Countryside Corner Dies.
  • Create the underwater background by painting wavy strokes with a Water Painter and Coastal Cabana, Misty Moonlight, and Pool Party ink. Once dry, stamp the fish using Misty Moonlight ink.
  • To make the shaker filler, remove the adhesive backs from the pearls.
  • Watercolor the image of the otters in Pebbled Path ink and die cut.
  • Die cut leaves, logs, and rocks from Early Espresso, Garden Green, Gray Granite, Mossy Meadow, and Old Olive Cardstock.
  • Stamp the sentiment with Pecan Pie ink on Very Vanilla Cardstock.

There will be a new project on Friday.  I don’t know about a Thursday yet.  I had tremendous sales at the three-day show.  I am running low on some products and must focus on them.   I have two different shows Saturday and Sunday. You will just need to check in on my post.


Please, Leave A Comment

Pamela Sadler Signature